
Contents
- Reduce the Idea to a Sequence Contract
- Use a Documented Motion Constraint to Shape the Plan
- Build the Five-Shot Architecture
- Repair Direction and Causality in the Worksheet
- Define Start Frames as Required States
- Treat End Frames as Editing Assets
- Match Transitions and Acceptance Rules to Each Shot
A promising idea is not yet an editable sequence. Generate several attractive clips before assigning each one a job, and you can easily finish with repeated coverage, reversed movement, or no clean place to cut.
This MuseBox workflow turns one non-explicit Adults 18+ concept into a compact five-shot plan. It defines the opening and closing state of every shot, preserves screen direction, reserves editing handles, and replaces vague quality judgments with observable acceptance criteria.
MuseBox presents connected short scenes as part of its character-led, cinematic approach. The MuseBox homepage links to an external AI Adults 18+ video generator rather than hosting a storyboard interface, so the fields below are production definitions—not claims about controls inside a particular generator.
Reduce the Idea to a Sequence Contract
Start with one sentence that names the subject, setting, progression, tone, and ending:
An adult guest enters a warmly lit studio, approaches a window, discovers a silver invitation on a table, and finishes with an expectant look toward someone outside the frame.
That sentence excludes anything that does not advance the sequence. A second location, costume change, or unrelated camera flourish would increase complexity without helping the scene reach its final beat.
Now establish a short sequence contract:
- Format: 16:9 horizontal video
- Total planned duration: approximately 14 seconds
- Coverage: five shots
- Movement: left to right through the first three shots
- Camera: static or restrained lateral movement
- Visual anchors: dark jacket, silver card, window at frame right, warm key light from frame left
- Final beat: a readable off-screen gaze held long enough to end cleanly
The contract is intentionally compact. Adobe’s conventional-production guidance recommends keeping a shot list scannable and warns that excessive detail can make it less useful. It also suggests limiting a short scene to four or five planned shots (Adobe’s shot-list guide). The same discipline helps a generative workflow: every clip must earn its place.
Use a Documented Motion Constraint to Shape the Plan
A real AI-assisted production illustrates why camera behavior needs more than an ambitious adjective. During the production of ANCESTRA, the filmmakers needed precise camera motion while combining live action, storyboards, concept art, generated imagery, and compositing. A prose description alone did not provide the required movement path, so the team planned mapped motion references that expressed the intended camera behavior concretely. Those references supplied defined movement information for shots that were subsequently incorporated into the finished production (Google DeepMind’s ANCESTRA production account).
The transferable lesson is specific: when movement must follow a path, record that path as an observable requirement. Do not keep expanding a prompt with words such as “smooth,” “precise,” or “cinematic.” In this worksheet, Shot 2 therefore says that the subject travels left to right while the camera tracks laterally without overtaking them. If the selected generator cannot maintain both actions, simplify the camera and preserve the subject’s movement, because the movement carries the story.
This does not imply that MuseBox or every linked generator accepts motion-reference inputs. It shows how a documented production constraint changes the planning decision before generation begins.
Build the Five-Shot Architecture
The first-party MuseBox sequence-planning guide identifies three minimum fields for every clip: subject action, camera behavior, and duration. The following worksheet adds start and end states without turning each row into a paragraph-length prompt.
| Shot | Purpose and action | Duration | Start frame | End frame |
|---|---|---|---|---|
| 1 | Wide, static establishment; guest enters | 3 sec | Empty doorway at frame left; table and window readable | Guest clears the doorway and pauses, facing right |
| 2 | Medium lateral approach; guest reaches toward table | 4 sec | Guest faces right with weight on the rear foot | Hand nears the card while the body settles |
| 3 | Static insert; hand lifts invitation | 2 sec | Card rests untouched; hand enters from left | Card clears the tabletop and remains readable |
| 4 | Medium close-up; discovery becomes reaction | 2.5 sec | Card is held below the guest’s eyeline | Eyes settle toward off-screen right |
| 5 | Close-up; final emotional beat | 2.5 sec | Gaze already points frame right | Expression settles into quiet anticipation |
The durations total 14 seconds and include each shot’s lead-in and settled tail. They are planning targets rather than promises about generated output.
Test Shot 2 first in the selected generator and approve its action, direction, and usable cut window before producing the simpler insert and close-up. It combines body movement, a hand action, background geometry, and lateral camera behavior, making it the highest-risk essential shot. MuseBox’s documented workflow similarly recommends starting with the hardest clip and generating inserts, transitions, and establishing material after the principal clips are accepted.
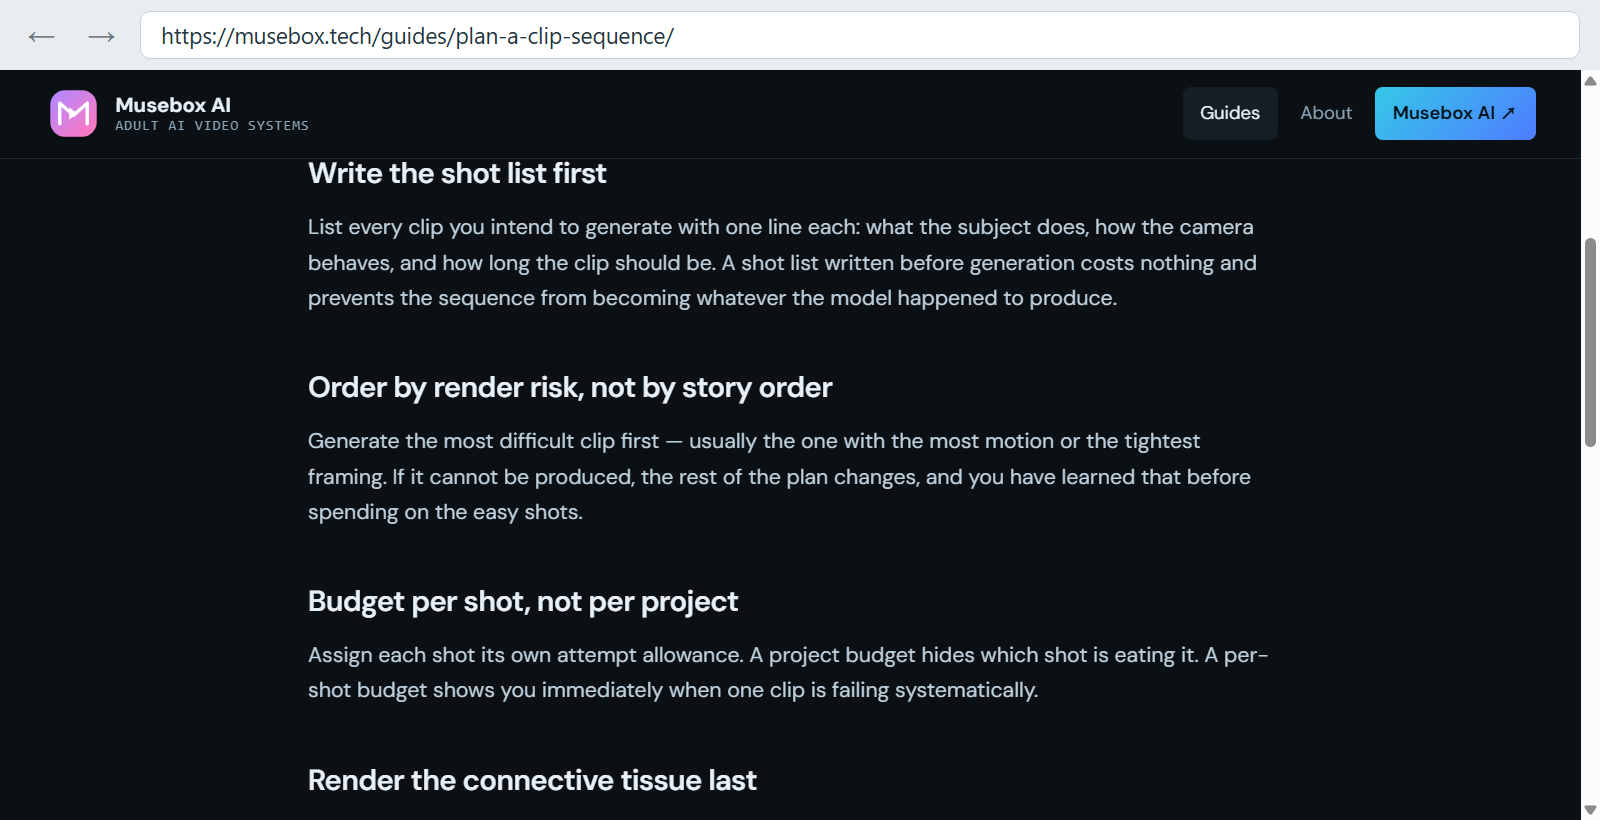
MuseBox’s guide defines the core shot-list fields and recommends testing the most difficult clip before easier coverage.
Repair Direction and Causality in the Worksheet
In the worksheet’s initial draft, the card insert came after the reaction close-up: entrance, approach, reaction, then object. Edit planning exposed two problems before any output was treated as evidence.
First, the viewer would see the reaction before learning what caused it. Second, the draft insert had the hand entering from frame right, although the approach established travel toward frame right. Cutting between those movements would create an apparent reversal.
The revised order places the insert between the approach and reaction. Its start state also changes so the hand enters from the left and continues right. Shot 2 now ends as the hand nears the card; Shot 3 completes the reach and lift; Shot 4 starts only after the card is stable below the eyeline.
That adjustment produces a clearer cause-and-effect chain and two planned cut options: during the continuing reach or after the hand settles. These are planning outcomes, not claims about a rendered MuseBox test.
Adobe’s explanation of the 180-degree rule supports the underlying spatial decision: keeping the camera on one side of the action axis preserves apparent positions, while an unprepared crossing can disorient the viewer (Adobe’s 180-degree rule guide). Draw one left-to-right arrow above Shots 1–3, then preserve that geography by directing the eyeline toward frame right in Shots 4–5.
If the story requires a reversal, establish it visibly. A centered shot of the guest turning can create a new axis. A neutral insert can bridge time, but it cannot repair contradictory movement if the action entering and leaving the insert still points in opposing directions.
Define Start Frames as Required States
A start frame describes what must already be understandable before the important motion begins. Record the following for each shot:
- Subject position, pose, and facing direction
- Eyeline
- Wardrobe and prop state
- Key-light direction
- Background anchors
- Camera height and framing scale
Shot 4 should not begin while the invitation is moving unpredictably toward the face. It begins with the card already held below the eyeline, isolating the shot’s real action: the eyes moving from the card toward the unseen person.
For related clips, return to the same original source material rather than repeatedly using one generated output as the next input. Chaining outputs can compound drift. Identity, wardrobe, lighting, and scene geometry are covered more fully in the MuseBox scene-continuity guide; this storyboard concentrates on the state each edit must receive.
Do not assume that every generator can enforce every planned state. Adobe’s Firefly documentation provides a concrete example: adding an image keyframe makes its composition-reference option unavailable. Controls can exclude one another, so the storyboard still needs to describe the required result even when a system cannot lock all inputs simultaneously (Adobe Firefly composition-reference documentation).
Treat End Frames as Editing Assets
An end frame should complete the shot’s job and leave material around the cut. Avoid stopping halfway through a gesture unless the following shot deliberately continues that movement.
For every endpoint, ask whether the action is complete, the important object or expression remains readable, movement has settled, the next shot can inherit the direction, and an earlier alternative cut is available.
Shot 3 therefore continues beyond first contact with the invitation. The card must clear the table and remain readable. Shot 4 continues beyond the eye movement, preserving a settled gaze that can connect to the final close-up.
These extra frames act as editing handles. Adobe’s Premiere documentation explains that insufficient head or tail material can cause a transition to repeat frames, become shorter, or require trimming changes (Premiere clip-handles documentation). Rather than inventing one universal frame count, specify three visible phases: a stable lead-in, a readable action, and a settled tail.
Match Transitions and Acceptance Rules to Each Shot
Use transitions to solve editorial problems:
- Continuity cut: connects the doorway pause to the approach.
- Motion match: carries the reach from Shot 2 into the insert.
- Reaction cut: moves from the revealed invitation to the guest’s response.
- Change of scale: moves from the medium reaction to the final close-up.
- Hold: allows the last expression to land.
- Intentional reset: establishes new geography when the axis must change.
Approval should be equally concrete.
| Shot | Reserved cut window | Accept when | Regenerate when |
|---|---|---|---|
| 1 | Empty lead-in plus settled doorway pause | Doorway, table, window, and full figure remain readable | Travel reverses or room geometry shifts materially |
| 2 | Lead-in before first step plus tail after the reach | One approach completes left to right; camera never passes the guest | Reach is incomplete, direction reverses, or no clean cut window exists |
| 3 | Clean frame before contact plus hold after lift | One hand lifts one stable card from a stable tabletop | Hand, card, or tabletop changes enough to break the action |
| 4 | Stable face before eye movement plus settled gaze | Identity remains readable and gaze ends frame right | Eyeline is unusable or the card changes visibly |
| 5 | Clean settled ending | Lighting direction and final expression remain stable | New unintended action appears or the ending never settles |
Mark a shot Edit instead of regenerating when its essential beat succeeds but an earlier cut, shorter selection, or modest timing adjustment removes a weak endpoint. If the card lift completes cleanly before a later disturbance, the usable portion may already satisfy Shot 3.
For every attempt, record the source, prompt or template, exposed seed if available, attempt number, verdict, and selected in/out points. The result is more than an AI video shot list: it is a revisable production record. MuseBox planning stays focused on the outcome that matters—not five attractive clips in isolation, but one compact sequence with understandable geography, deliberate transitions, and cuts an editor can actually use.